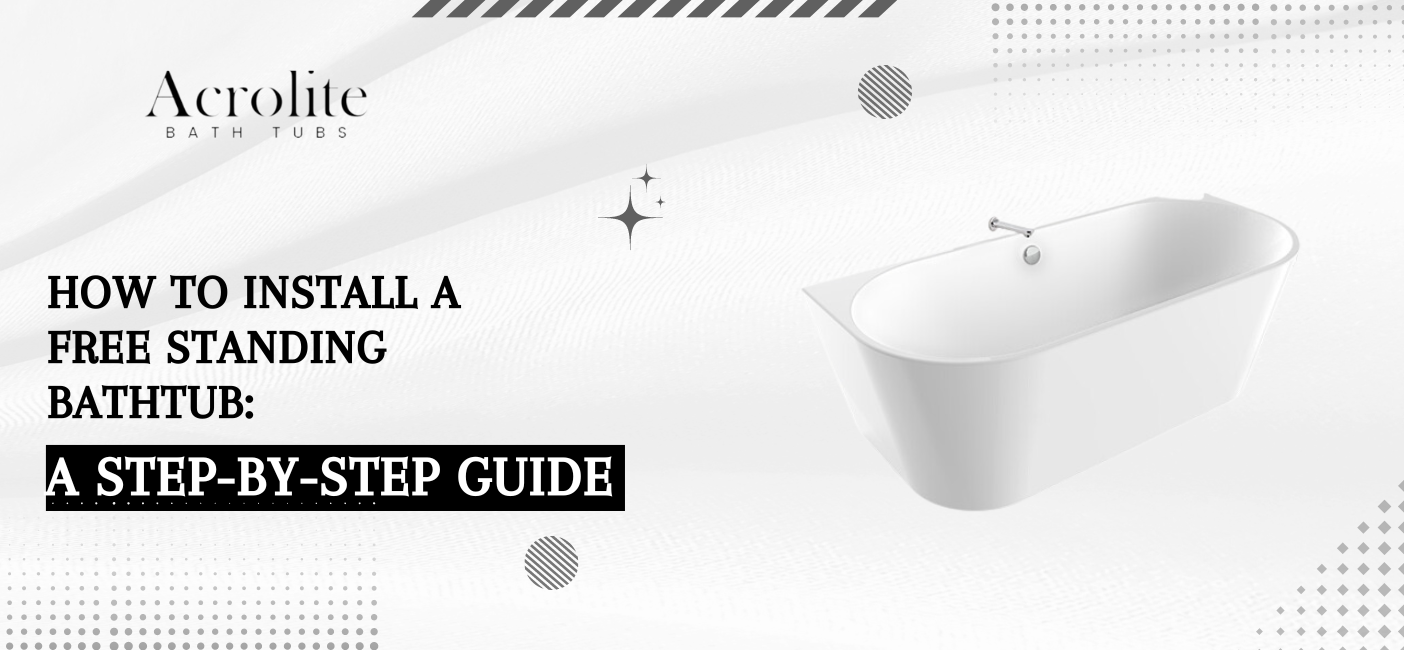
Installing a freestanding bathtub can covert your bathroom into a luxurious retreat. Whether you’re updating your existing bathroom or designing a new one, this step-by-step guide will help you to to install a freestanding bathtub with ease.
Prepare the Area
Setting up the space for the standalone bathtub installation first. Make sure the floor is the dust-free, level, and clean. If the bathtub is already in place, take it out and give the space a good cleaning.
Measure and Mark
Use a measuring tape to determine the exact placement of the bathtubs. Mark the location of the bathtub’s drain on floor. Make sure that there is enough space around the bathtub for easy access and maintenance.
Install the Drain
To avoid scratches, place bathtub upside down on a cushioned or soft surface. As directed by the manufacturer, attach the drain kit to the bathtub. To guarantee a watertight seal, surround the drain flange with silicone sealant or plumber’s putty. Pipe wrench: tighten the drain assembly.
Position the Bathtub
The bathtub should be carefully raised and placed over the designated location. Orient the drain in relation to the floor’s plumbing. Use a level to make sure the bathtub is level. As necessary, adjust the position.
Connect the Plumbing
PVC pipes and fittings are used to connect the floor drain to the bathtub drain. If needed, use a pipe cutter to trim PVC pipe to desired length. Using the proper fittings or PVC cement, secure the connections. Make sure every link is secure and impermeable.
Install the Faucet
Installing the bathtub faucet requires adhering to the manufacturer’s instructions. The plumbing on the wall or floor may need to be connected to your faucet, depending on the kind. To tighten the connections, use an adjustable wrench. Seal the area around the faucet base with silicone sealant or plumber’s putty to stop leaks.
Secure the Bathtub
After the plumbing connections are completed, fasten the bathtub firmly. A few freestanding bathtubs have mounting brackets or adjustable feet. The bathtub may be fastened to the floor by following the manufacturer’s directions. This step stops movement and guarantees stability.
Test for Leaks
To check for leaks, turn on the water supply and fill the bathtub. Check for any indications of water leaks in any connections, including the faucet and drain. Tighten the connections or add more sealant as necessary if any leaks are found.
Final Touches
After making sure there are no leaks, clean the bathtub and its surroundings. Take off any extra sealant and give the bathtub a good cleaning. To make sure the bathtub is firmly in place, give it one more check for stability.
Tips for a Successful Installation:
- Read the Instructions: Always refer to the manufacturer’s instructions for specific installation guidelines.
- Get Help: Freestanding bathtubs can be heavy and awkward to handle. Consider having a helper to assist with lifting and positioning.
- Check Local Codes: Ensure your installation complies with local plumbing codes and regulations.
Professional Help: If you are not comfortable with plumbing tasks, consider hiring a professional plumber to assist with the installation.
Installing a freestanding bathtub can be a rewarding DIY project that enhances the look and functionality of your bathroom. By following this step-by-step guide, you can enjoy a stylish and relaxing bathtub in no time.